From Bike Bench to Car Bay: What DIY Mechanics Should Know About Crankcase Ventilation
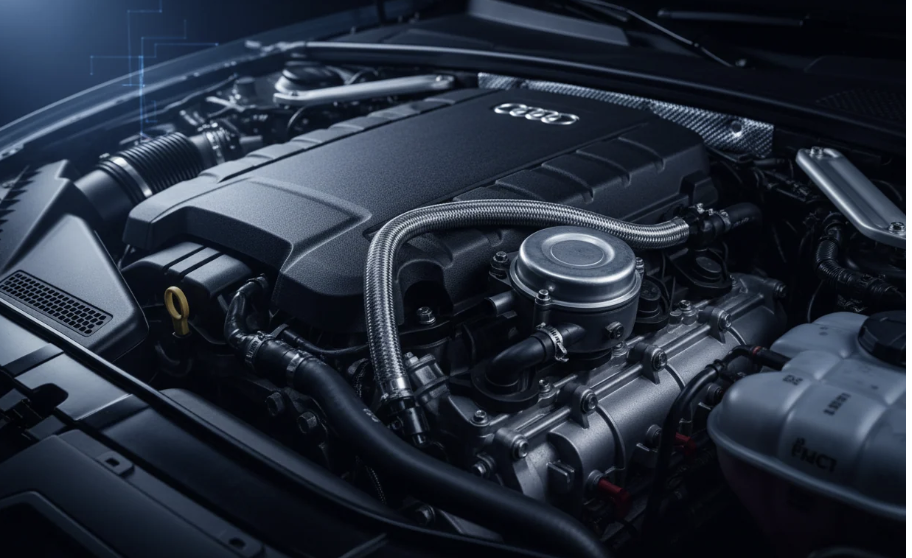
Anyone familiar with bicycle maintenance knows that small changes often signal bigger problems. Worn bearings, stretched cables, or dry chains rarely fail without warning. The same principle applies to automobiles, although diagnosis is more complex. Modern engines rely on interconnected systems, where a failed diaphragm, blocked ventilation passage, or excessive crankcase pressure can affect idle quality, fuel trims, and oil sealing.
When researching a crankcase ventilation kit, many owners discover that what seems like a simple oil leak often starts with a ventilation fault that developed gradually. Listening for unusual noises, checking for oil residue, monitoring idle quality, reading fault codes, and inspecting aging hoses often reveal problems before repairs become costly.
What Happens When Crankcase Pressure Has Nowhere to Go
Every internal combustion engine produces blow-by gases that pass the piston rings during normal operation. Without proper ventilation, pressure builds inside the crankcase, forcing oil past seals and reducing efficiency.
The Positive Crankcase Ventilation (PCV) system returns these gases to the intake for combustion. When it fails, crankcase pressure becomes unstable.
Typical symptoms include:
- Oil leaks around seals and gaskets.
- Rough or unstable idle.
- Whistling noises.
- Increased oil consumption.
- Oil residue inside the intake.
- Lean mixture fault codes.
- Vacuum irregularities.
- Sluggish engine response.
A damaged diaphragm, clogged valve, collapsed hose, or blocked oil separator can all disrupt airflow. Because these parts work together, replacing only the most obvious faulty component does not always solve the problem. Accurate diagnosis is essential before ordering replacement parts.
Finding the Fault Before Ordering Parts
Replacing parts without proper diagnosis often increases costs while leaving the original problem unresolved. A systematic inspection is far more effective.
Check:
- Rubber ventilation hoses.
- Hose connections.
- PCV valve.
- Internal diaphragm.
- Oil separator.
- Vacuum lines.
- Intake connections.
- Associated seals.
Inspect for brittle plastic, hardened rubber, collapsed hoses, oil contamination, and air leaks. Even small cracks can introduce enough unmetered air to affect engine performance.
Vacuum testing provides additional insight. Excessive vacuum may indicate one type of PCV failure, while excessive pressure usually points to restricted ventilation or blocked passages.
Service history also matters. High-mileage engines or those with infrequent oil changes often develop sludge that restricts ventilation. Careful diagnosis helps identify the actual fault instead of replacing unnecessary parts.
When a Kit Is Better Than a Patch
DIY mechanics often replace only the visibly damaged part, such as a cracked hose.
In reality, crankcase ventilation systems rarely wear one component at a time. Rubber seals harden together, diaphragms lose flexibility after repeated heat cycles, and plastic fittings become brittle. Replacing a single failed part often leads to another repair soon afterward.
For this reason, many technicians recommend installing a complete crankcase ventilation kit when several components show wear. Replacing diaphragms, seals, valves, and connecting parts usually restores reliable operation better than isolated repairs.
Before ordering parts, verify:
- Vehicle model.
- Engine code.
- Production year.
- OEM part number, where available.
- Included components.
- Material quality.
- Installation guidance.
Compatibility is just as important as quality, since even minor engine revisions can change hose routing, valve design, or mounting points.
Knowing Where DIY Should Stop
One of the most valuable DIY skills is recognising when a repair exceeds the limits of a home garage. Many crankcase ventilation repairs are manageable with basic tools, while others require intake manifold removal, restricted access, or specialised diagnostic equipment.
Professional help is recommended if inspection reveals excessive crankcase pressure, persistent exhaust smoke, repeated oil leaks after repair, heavy sludge deposits, difficult engine layouts, or recurring fault codes. These symptoms often indicate problems beyond the ventilation system. Successful DIY maintenance depends on accurate diagnosis, careful inspection, and choosing a complete repair when it offers the best long-term result.
 Email
Email